Making light tubes for real
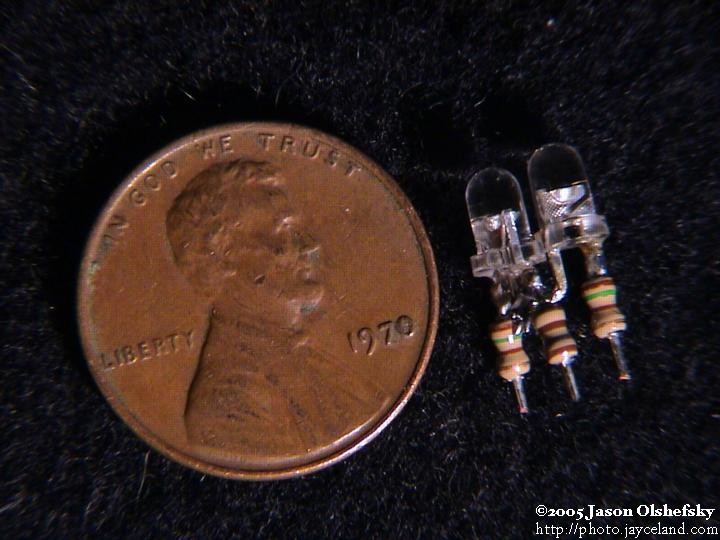
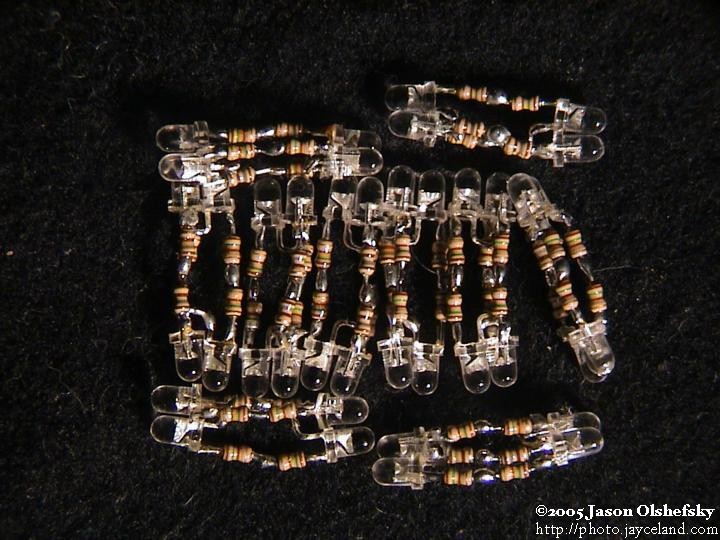
Posted: 2005-July-30 Filed under: Lighting, Projects, The Bike With 2 Brains Leave a comment »I assembled all the LED blocks assembly-line style. I got a system down and it didn't take too long to get 10 pairs assembled (a total of 20 clusters with 2 LED's in each cluster capable of emitting 3 colors.) The three resistor leads were about the same length so I used a penny as a conductor and tested all the clusters, fixing the few that are dead.
On the 31st, I made a couple passes on how to get the LED's to light up the eyes. Each eye has a pipe angle welded on the back that extends to a hole in the front; I have pupils with a short length of tubing that is glued into a short length of pipe that threads into the angle. The other end of the angle is open and is just the right size to accomodate the 1/2" polyethylene tubing with a very snug fit. I eventually figured out that the LED clusters are small enough to snake through the interior of the pipe angle so I just put them on long pigtails and I'll shove them into the pupil tubing to light it up.
By spacing the clusters evenly, I end up with 5 pairs facing in opposite directions, and the middle pair is right at the apex of the curve of the frame. Perfect. I started wiring them up like I did with the spiral bike tubing, except with address lines too. I needed to address 11 common cathodes (the 10 lights in the tube plus the one for the eye) along with 3 anodes (red, green, and blue) so I decided to run two ribbon cables: 8-conductors and 6-conductors. The 8-conductor would run the whole way with the three anodes and the eye cathode on the middle 4 conductors and then I'd use the two outside pairs to address the next two clusters. Likewise, the 6-conductor wire would address the remaining 6 cathodes.
I soldered the wires onto each cluster and taped each to a short length of 1/4" polyethylene tubing with clear tape — I did this on the spiral bike because it tended to shove the ribbon cable to the edge of the larger tube so it wouldn't block the light. Once I got done, I had a length of flopsy segments of 1/4" tubing with LED's in between each segment, a lot of tape, and ribbon cables. However, once I tried to snake it through the tube, it was just a little too big. I couldn't get the thing through. I tried pushing it, pulling it with a wire snake, adding silicone lubricant, sucking it with the vacuum cleaner, sucking it with the vacuum pump I have (using a pig made from larger tubing), and finally pulling it really hard with a soldered loop using the wire snake. I got about halfway and couldn't get any further. I took it back apart and found that I had ripped out some of the wires and it would never have worked anyway. I got a little annoyed for a bit, but realized that I could use ribbon cable for the common red, green, and blue anodes and then use wire-wrapping wire for the cathodes as they'll only carry a maximum of 60mA — the farthest lights might get a little dim, but it'll fit in the tube.
I got the wire-wrap solution knocked off in less time than I thought (including the repairs to the broken LED's — I still didn't manage to permanently break any of them.) The new setup looked better and using a similar technique with the wire snake, it slid in place with a modest amount of effort. One of the clusters didn't light so I had to take it apart and fix a bad solder joint, but other than that, the whole thing is addressable.

Even a penny from when dinosaurs roamed the Earth was a great way to test each of the clusters and to demonstrate their small size.
![]()


Recent Comments